Sunday, September 24, 2017

Tallbike finished

Lots of cable-stops, Mig-welded on despite the remaining braze material. Yes, I could have silver-soldered them but Mig is quicker and involves less cleaneryuppery afterwards and no painful shards of borax-glass which is the inevitable result of being too impatient to apply eyeball protection to front of head. And no, Mig isn't beautiful but I do lay claim to the view that my glorious Tallbike isn't quite as ugly as those affairs where the citizens of Portland in the county of Oregonshire in our colony of America simply weld a Walmart bike on top of another Walmart bike, much as that might be the best and quickest thing to do with Walmart bicycles.


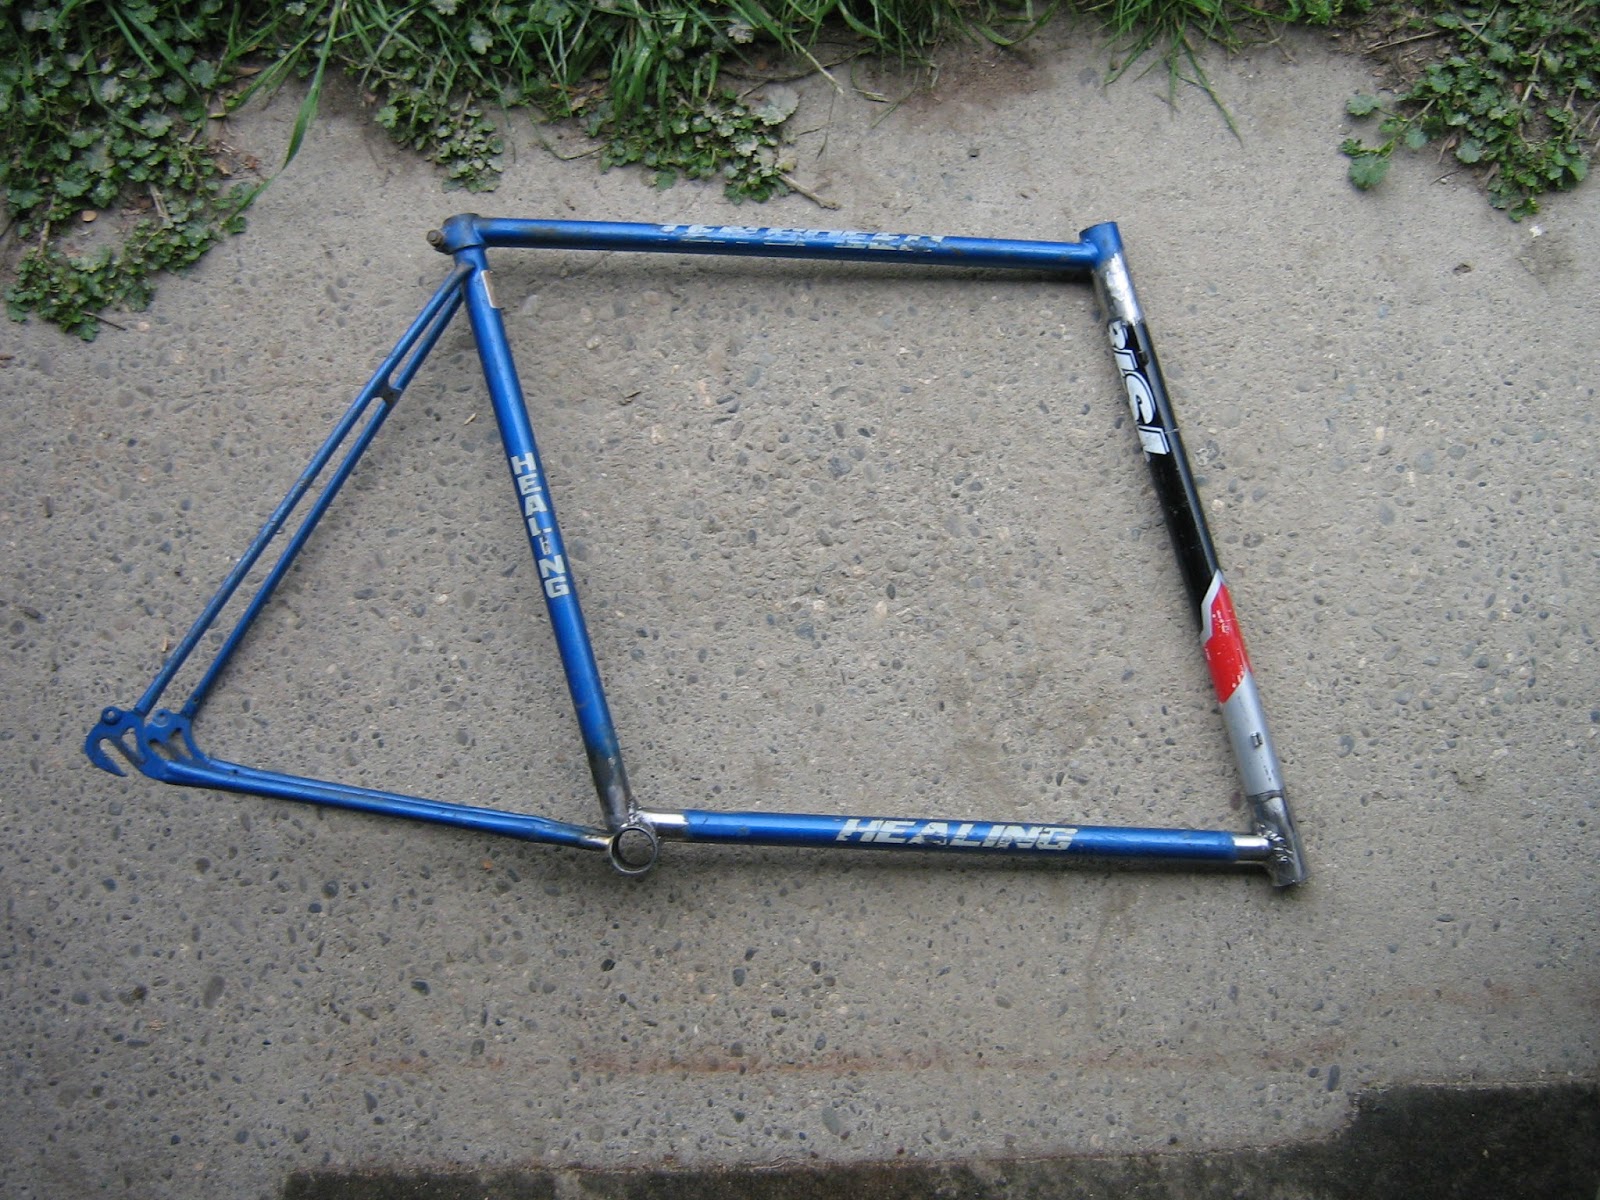
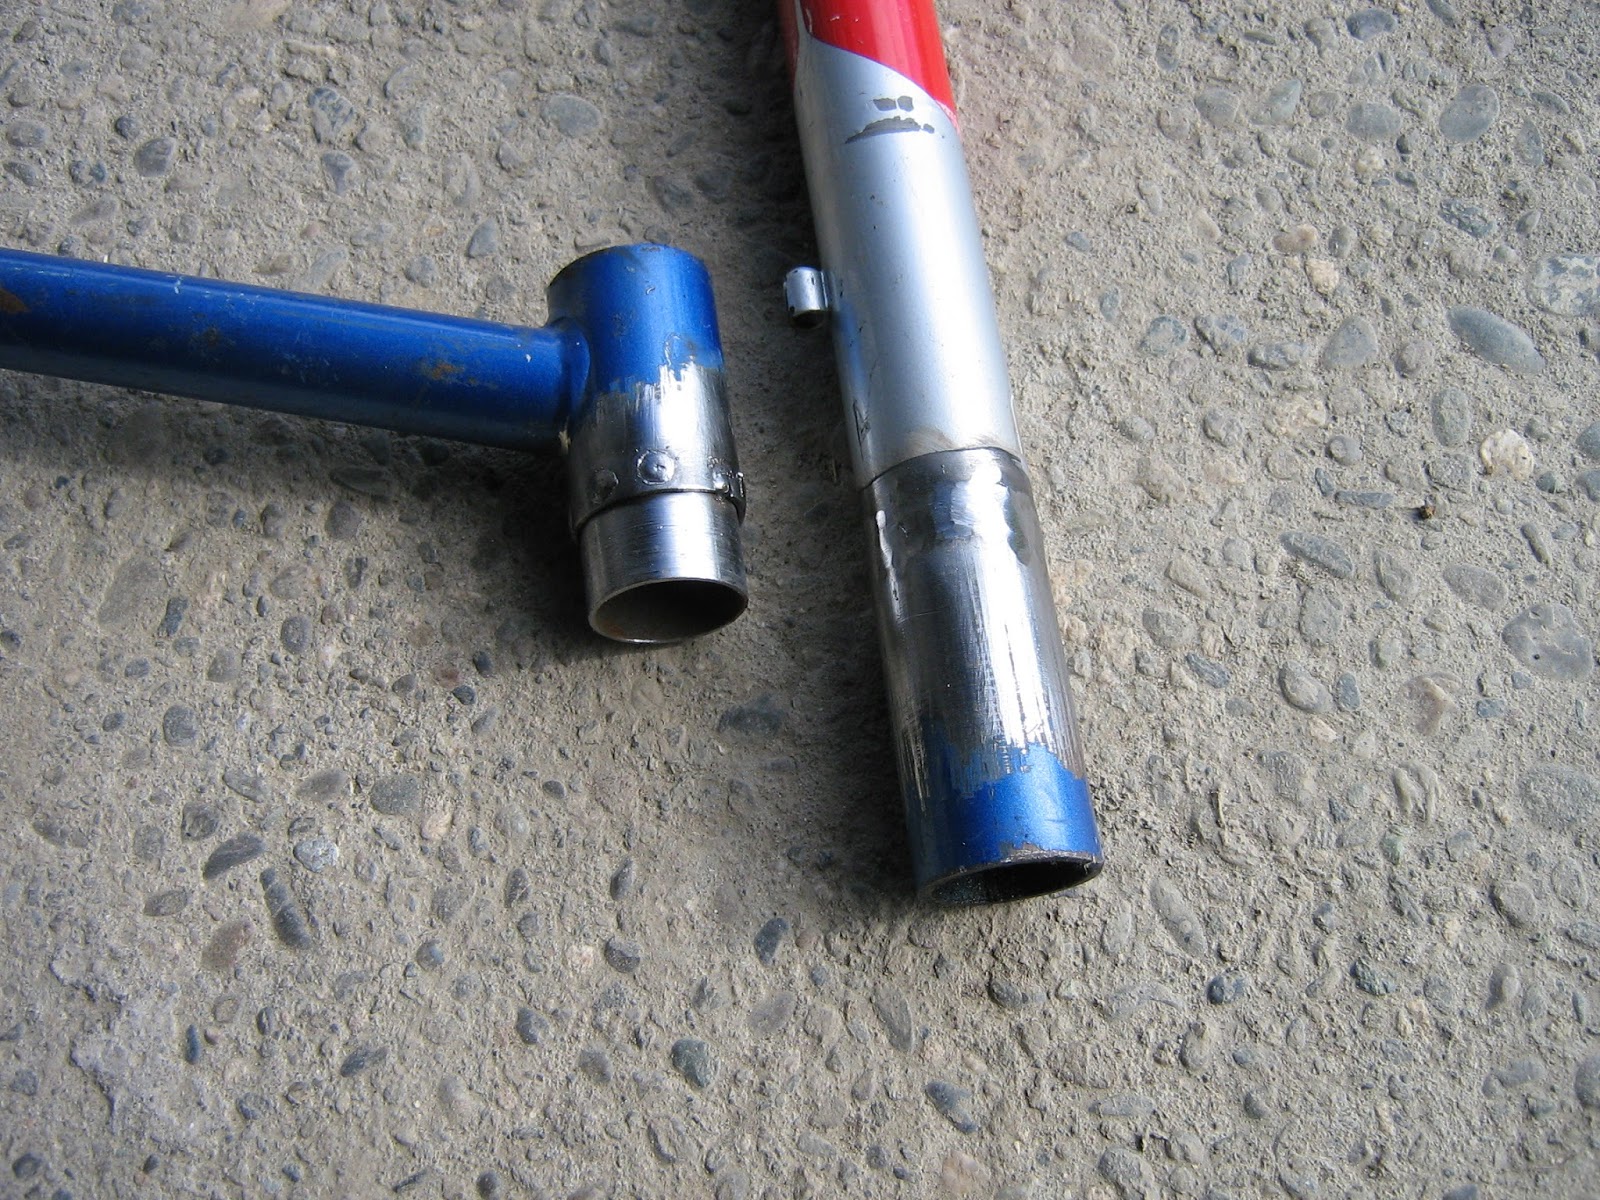
Visible, if one can be bothered to look for them, are two cable joiners, and a quarter-circle sawn out of that headtube with the groove filed in, that persuades a gear cable to turn 90 degrees and get the front mech to work. Cunningly the front mech is missing from the picture, so deducing where it might be can replace tonight's cryptic crossword for one's brain exercise.

Handlebar from somewhere and combined brake/gear levers from somewhere else. Haven't diagonalised the parallelogram: riding round the garden hasn't stressed matters enough to feel the need.


It turned out to be easy to get on and off, much easier than the penny farthing. You put a foot on the pedal, scoot a couple of times, and get on just like a normal bike. Get off in the same way. And it feels just like an ordinary bike to ride too, even though you're higher up. Indeed you're higher than on the penny farthing though mine has but a 48 inch wheel, and is therefore a small penny farthing. The penny's seat is 52 inches off the ground, so five inches lower than this machine. (If I may dignify it with the title 'machine'.) And you don't feel that you're in peril of your life, as you do on the penny; nor do your arms have to counter the pedalling thrust which on a penny farthing tends to a slight side-to-side waggling of the big front wheel which is the case if you're a nervous penny farthing rider, which I am.

Tallbike vs Penny Farthing

Vital statistics:

Wheelbase: 58"
Seat height: 57"
BB height : 28"
Weight: 36 lbs
Wheels: 700 x 23c
Gearing: 14-28 rear, 28/38/48 front
Cost: £0.0s.0d. unless you count the Mig wire, gas and electricity
Time: three weekends

S'ppose I'd better take it for some rides up the valley before painting it. Bracing that parallelogram with a diagonal or adding carrier racks is best done while the steel is raw since it saves on wire-brushing paintwork off.

And then it can be stashed away until the Pienaars come for lunch and their teenage boys can amuse themselves riding it, along with all the other useless vehicles I've built, up and down the road and afterwards Lenny can come and tell me off vicariously for them not having helmets on.

Labels: , ,

Saturday, September 23, 2017

Tallbike seat stays etc.

Decided to preserve Healing seat stays because = simpler. First I took my Tarini frame and snipped off the seat stays and lengthened them to accommodate a 700c wheel, being too lazy to weld on cantilever bosses. The lengthening was easy, ugly and may need reinforcing if for no other reason than to pretend there isn't a stress concentration which there probably isn't because when you ram a tapered thickened seat stay backwards into another one and weld them together, there's an awful lot of thick and heavy steel sitting there.

Back to the original plan, and extending the bottom tube for the ostensible reason of creating a rear luggage rack. And preserving the faux seat tube for the front derailleur  mech. And snipping some seat stays off a few other bikes to see what would fit. Burning off the paint. Wire-brushing the ash. Pretending the ash molecules aren't pollutants and won't have any effect on the garden or on my unprotected lungs.

On to drilling 4mm holes for plug-welding, and since I can no longer get the machine onto the drill table, doing so by hand with the inevitable blood sacrifice.


Don't feel sorry for cut, feel sorry for stupid.

Since back-of-knuckle wounds aren't self-sealing, into the bathroom for plaster, knock mirror off shelf, into kitchen for dustpan-and-brush, mirror-shards wrapped and binned, plaster on, resume welding. As I say, don't feel sorry except for stupid.

Lots of shaping, lots of extra bits of tube, lots of weight. Did I really hope it was going to end up a lightweight? No, I didn't. And a bit more Googling reveals that one was right to be concerned about that elongated fork steerer tube. I found someone else who built one, and it cracked exactly where anticipated.

Gnarly seat stays to match gnarly chainstays


Methinks that parallelogram may need diagonalising.

My neighbour was impressed. Actually he was more impressed with Ron's bike which had luckily remained untouched, and since all it needed was air in the tyres I pumped them up and gave it to him, and he rode it down to the wharf this afternoon and came back puffed.

On to contemplate cabling, a job I hate. Couldn't get the cable to come from underneath the front mech cos there's that horizontal in the way. Why didn't I think of that before? Because I'm stupid, that's why. I needed a curly channel thingy to get the cable to curve round smoothly. Ideally this would have a 72mm diameter curve but one of those wasn't to hand, so I filed a groove in a snipping of Grotesquely Heavy Headtube from some other discarded bike.

Rubbish photo cos camera's gone All Funny. 

Sudden awareness that those seat stay cantilever stubs are too far apart. Squidging a Vee-brake at the top will impart more of a diagonal than a horizontal motion to the brake pads. Why didn't I think of that before? See above; stupid's why. They're four and a half inches apart. Need to be three.

Camera's still funny

Chopped a front fork in half to extract the cantilever stubs, and welded the entire fork section in place, using the altogether better idea of nipping the brake pads onto the rim while welding.

Must google Canon Powershot A430 and find out why it's misbehaving. The trouble when you inherit your electronick devices from your children

A bit ugly, but who'll be looking at this partic'lar bit of ugliness when there's so much more?

And on to making cable joiners. An intelligent person would simply go to the bike shop and buy tandem cables, but an intelligent person wouldn't be building this machine. Anyway buying stuff defeats the repurposing purpose. Besides, it's quicker to make a joiner than to cycle to the shop and home again, esp. if someone's thrown a bottle onto the bridge, which they have, and you have to go home and get a broom, which you do, because the Council won't come out for a month, which they won't.

Two bits of 1.6mm mild steel. Folds introduced with hammer and vice. 3mm screws 21mm apart.Gap at side 2mm to allow two 1mm gear cables to enter above one screw, cross the middle, and exit below other screw.

Tomorrow's task can be to weld cable stops on and get the back brake to work. And to fix the camera.


Labels: , ,

Saturday, September 16, 2017

Tallbike frame

A hacksaw has revealed that the reason Healing bicycle frames weigh somewhat more than seven elephants is that they too were built with tubing of 1.6mm wall thickness. I was amazed. Makes for very easy welding, though. The downtube got its ends hacksawn and hammered to the approximate fit that is adequately hidden underneath Mig welds provided neither Mr. Knight nor Mr. English happen on them and make Adverse Welding Remarks.

Shaped

 Fitted

 Paralleled

Welded 

Then to rummaging about in the Bike Heap for scraps to turn into chainstays. Elderly BMX frame produced 7/8" chainstays ready-fixed to a strange 40mm tube, and slicing off most of the Ashtabula housing and a healthy bit of grindery persuaded this to fit the Healing BB shell. Some ancient MTB gave of its chainstays which terminated in squashed 7/8" tubing. Some other shards of unknown rear triangle, chopped off long ago and forgotten, slotted into these bits of 7/8". With a gap of 2.75" between them filled in (with bits lopped off the handlebar sacrificed to plug the fork steerer tube) to maintain the pretense that this was unbroken tubing, all was ready to weld.

Plug-welded through 4mm holes


Slightly gnarly welded chainstay

Then to contemplating how to align everything for attaching to the mainframe. Easiest is a jig but then you're left with a jig afterwards. So out with the bike stand (thanks, Matt) and a spirit level and a bit of manuka-wood propping up the back wheel until it's about in the right place and about in line and about vertical. Amazing how accurate this can be. Doesn't have to be manuka-wood though. Other timbers would have sufficed. Oak, ash or elm - even a stick of lacewood at a pin- oh shut up. Idiot.


Once welded, on with the faux seat-tube for the front derailleur mech. This tube's critical angle is gauged by holding up another rear triangle and tying a stick across the severed Healing seat stays and lots of filing and welding and whatnot. Do we keep the existing seat stays? Not sure at the moment. A straight line goes from rear axle to top headset and by happy chance clears the top of the derailleur mech tube, as determined by a stretched bit of inner tube rubber. That may do the trick with a bit of beefing up. It may prove too twisty, however. Four long undiagonalised tubes are scarcely a torsion box. - Shut up, computer.  undiagonalised is a word. - So for the moment we'll leave the Healing seat stays dangling there in the wind, ready to be used if needed.


Tomorrow I shall be forced to disturb the neighbourhood with a bit of antisocial Sunday morning angle grindering like as if I'm a bogan, and weld together some more bits of frame to make seat stays. Yes yes yes, I know it would be easier to use pristine tube but that would defeat the primary object. I'm not a Zenga brother. I'm trying to get rid of bits off-ov the Bike Heap. Repurposing, it's called.

Labels: , ,

Monday, September 11, 2017

Tallbike

Ron has bought himself a new bike. Naturally he brought his old one round and parked it in my shed.


I'm told Healing bicycles were standard NZ issue in the 1970s. I already had three of them so I thought I'd make a tallbike. I got a scrap of paper and spent an idle half-hour sketching this.


No particularly good reason other than the fact that the idea exists.

Advantages:
1. Visible on the road, so drivers give more space when overtaking.
2. Penny farthing height (amusin') but, having a longer wheelbase, reduced danger of a header.
3. Uses up bits from the Bike Heap.
4. Any weight can be carried low and between the wheels.

Didn't want to go too high cos
a) difficulties of ascending and descending, & 
b) broken leg = not much fun.

I took a perfectly serviceable gentleman's mountain bicycle frame from a nail whacked in the shed wall and removed the 35mm top tube, it being the same diameter as a Healing steering tube. Popped it in the lathe steady and machined the end square to the bore.


Not for off-road use or stunting. Wouldn't want to over-stress that 18-gauge 2" steel downtube.

Chopped the downtube out of a Healing Tenspeed, cut the headtube in half, machined the lower half to fit inside the 35mm Tarini top tube and plug-welded it and then butt-welded it in place and tidied everything up with an angle-grinder. Dremeled the inside of the Healing half-headtube to fit a scrap of 18 gauge 32mm and plug-welded it in place.


Thought for a few minutes about which side a front Vee-brake cable  might like to lie before welding the Tarini top tube as an extension of the Healing headtube. Guessed there'd be a problem getting the top and bottom cups parallel, so I used a square to nip two blocks of aluminium onto a bit of box-section, and popped the extension between them before welding.


Only other major problem is extending the front fork steerer tube. The fork bearing cups are now twenty-three and a half inches apart. To extend the fork tube I need to weld a long 1" tube, and at its top, weld a piece of threaded fork tube onto which to screw the top bearing. The middle bit of this steerer tube is likely to bend when the front wheel hits a bump. A Huffy yielded a stiff piece of top tube: those old Huffys had 16 gauge frames in anticipation of being ridden by sturdy Americans. Another fork yielded a threaded end, and had the thinner 21mm ID which was sometimes used to ensure frustrating incompatibility between bicycle parts, but meant that this was of thicker gauge tubing. Machined all the ends square to the bore, natch. I found a steel handlebar from a  perfectly good gentleman's mountain bicycle, chopped bits off it, and machined them as inserts in the various bits of fork steerer tube.

Steerer tube bits cut and machined square to bore

Inserted and plug-welded through 4mm holes


Butt-welded together


Tidied up with angle-grinder. Fingers crossed that it's not so angle-ground as to be weakened.

It occurred to me that from the fork crown to the handlebar is three times as long as a normal tube, so when the front wheel hits a road bump, that tube running between the steering head bearings is 3x3x3 as likely to bend. Which is a lot. The ends of the frame head tube are of smaller ID than the middle of the tube, so I can't slip a bearing around the middle of the fork head tube. I consulted a design engineer on the other side of the world who builds these:


He promptly replied

Remember that if you have a fork tube 3 times the length, the force on the top bearing is 1/3 of the force on a short tube. I think you don't need to do anything. Easy to test anyway. Set up a tube or bar between supports at the proportional distances and apply a load to the end and measure the deflection. Move the end support to the other position, apply the same load and measure it again. I'd use the fork itself if I had it made, a heavy weight and a dial indicator, but you could use any material with the same cross section along its length to see what happens.


I think I'm going to see what happens.


Labels: , , ,